Saturday, January 30, 2016

ATC~Create Everyday~

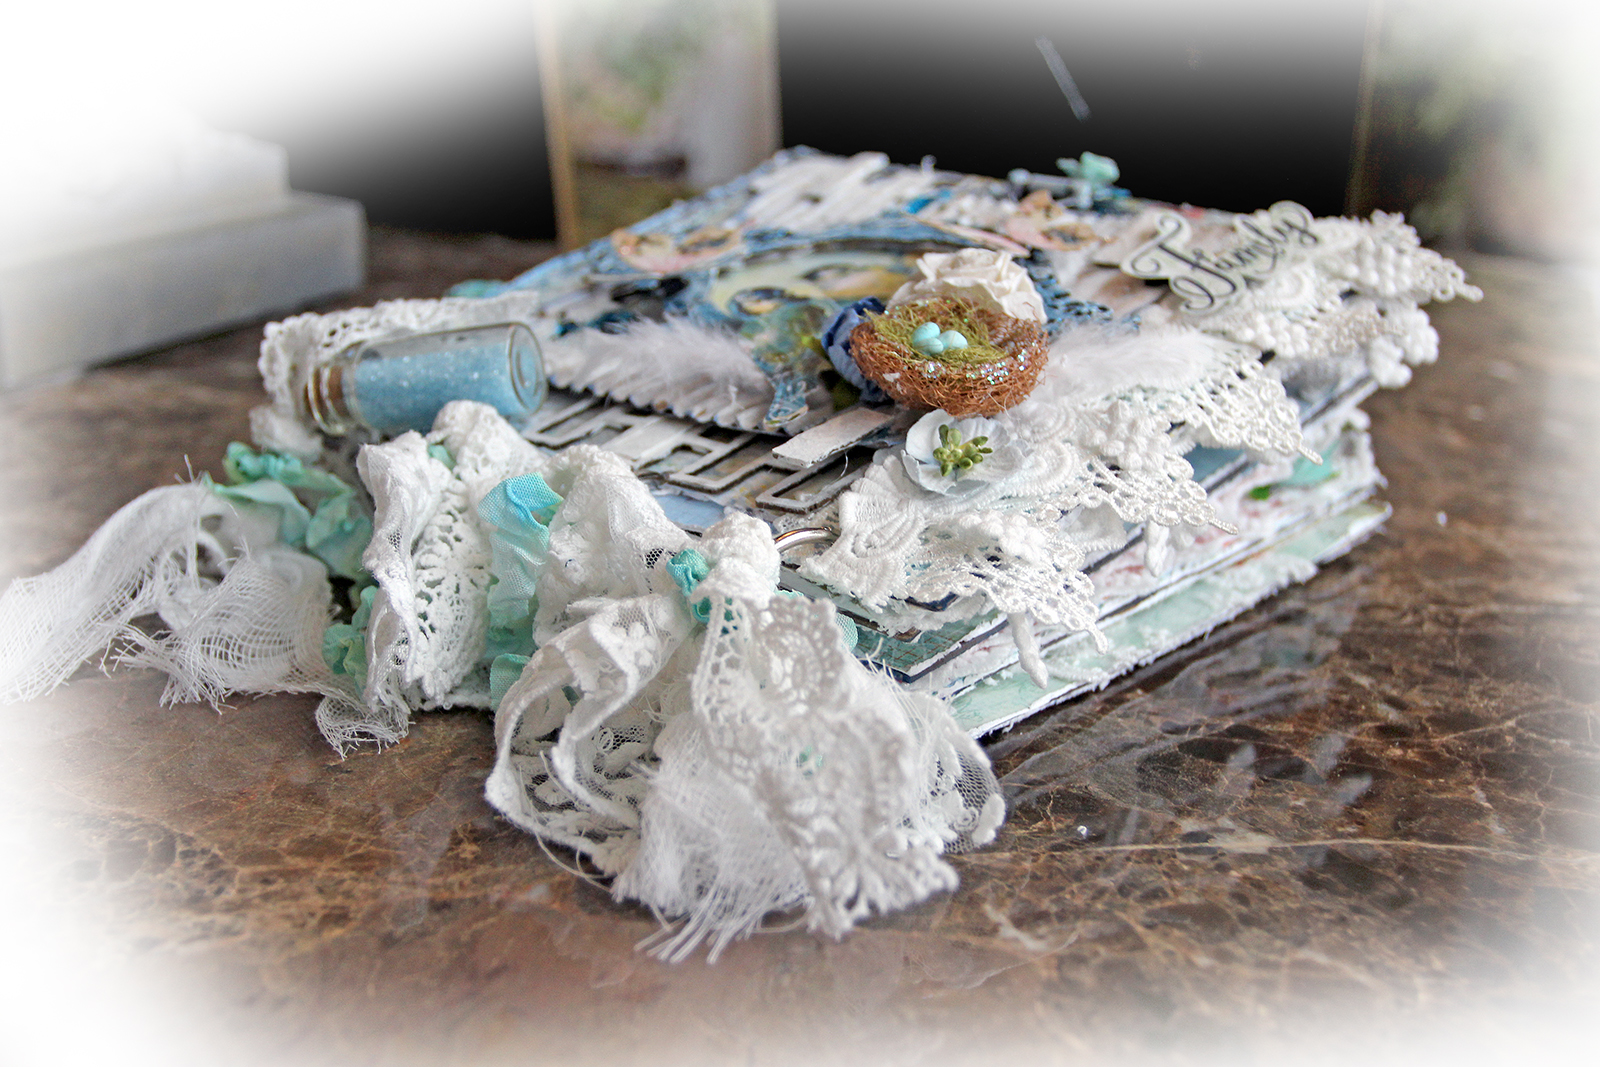
I love doing ATC swaps with my scrappy friends and this is one that I created for Tosha Crow for a swap that I participate in on the Scraps Of Darkness Community Facebook Page. 


I started with a 2 1/2 x 3 1/2 Chipboard base and then layered Blue Fern Timeless Paper that I distressed and Inked with Tim Holtz Seedless Preserves Ink and then machine sewed. 


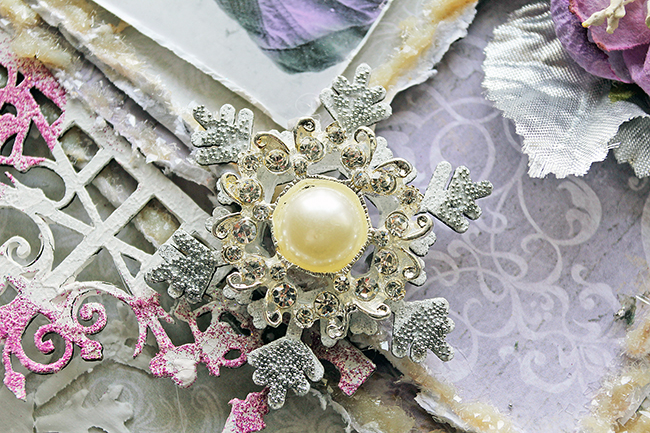
I then created a corrugated board pocket that I painted with Dina Wakley White Gesso then sprinkled randomly with Blue Fern Mystic Plum Embossing Powder, Reneabouquets Chunky Diamond Glitter Glass and RB Silver Microbeads. Next, I created a heart piece by cutting out the heart shape from different pieces of the Timeless papers, distressing and inking the edges with Tim Holtz Vintage Photo Ink, and then sewing the layers together, adding some burlap and a sweet little rose that I misted with TH Seedless Preserves Stain


The Pull Out Tag Piece is one that I created using a heart that I cut from some Chipboard, then coated with Reneabouquets Pearl Glitter, Diamond Chunky Glitter and Silver Microbeads. I covered the backside in more of the Timeless Paper and then punched a hole, pulled some burlap strings through and tied a bow. I added the word "Create" to go with the other "Everyday" piece on the bottom of the ATC to inspire Tosha to "Create Everyday". 


I just love how the Pearl Shard Glitter, Diamond Glitter and Microbeads took on a mosaic look after I misted it with Seedless Preserves stain, and then over misted it with some Sunset Pink spray I had on hand~DELICIOUS!!

I hope you find the time to create everyday! Whether it be art, decorating our home, cooking or gardening, it is so important for us to daily do the things we love!! Hugs ~Renea


Saturday, January 23, 2016

Serendipity~New Blue Fern Paper Line Just Released!

Blue Fern Studios has just released it's newest paper line~Serendipity!!!


I don't know about you, but I can not wait to get my hands on it! I think it is perfect for any artist's style with those soft colors on some of the papers and the darker, more grungier prints on others. I just love all the details and pieces that are perfect for fussy cutting and off the page projects as well!!

You can check the collection out along with the new Chipboard and Glitters that were designed to coordinate with it, on the Blue Fern Blog!!! Hugs ~Renea

Saturday, January 16, 2016

Can You Believe This Started As A Place Mat??

I love to participate in fun swaps and when I saw this Elegant Envelope Swap on Chic Craftique's Facebook Events, I just had to try something new and participate!! The swap rules had us taking a Place Mat, yes a place mat and turning it into an Elegant Envelope full of YUMMIES to send to our swap partner. I grabbed my place mat and some Reneabouquets products and got to work to create the following envelope to send out to my swap partner Faith Chesney.


I started with a sheer gold place and folded it into an envelope. I then took curtain panel and covered the whole inside of the envelope and then edged it out with some Vintage lace from my stash,  hot gluing the sides to form the pouch. I then layered  on some Reneabouquets  Golden Goddess Wide Lace on the outer top flap of the envelope, and used a Vintage Romance Brooch to simulate a closure. I used spray adhesive to attach tall my laces, because I thought it would help to make the piece a bit more stiff and it worked perfectly.


I opened the envelope up and added some Reneabouquets My Romantic Heart Lace. I also used the same lace to cover the back side. I then added a strip of Vintage lace from my stash and a sweet resin angel. 


To decorate the outside, I created a pocket from a heart doily that I misted with Tim Holtz Tattered Rose Stain and then rolled some script paper and tied them with twine and tucked them in the pocket.


Next, I added an Ivory Chiffon Flower some mulberry paper flowers, some light green leaves, and a Love Stick and Cherub Die Cuts from the Reneabouquets Victorian Ephemera Set. 


I tucked in lots of treasures for my swap partner into the pocket that includes: 4 different Vintage Laces from my stash, 2 Vintage Doilies, some paper Doilies, a collection of Vintage images that I have recolorized over the past couple of years wrapped with hand dyed seam binding with a sweet Vintage Scissors Trinket, and a set of my handcrafted Reneabouquets Divine Romance Butterflies.

I hope my swap partner loves her Elegant Envelope!! I have to say this was a project that I would not have tried had I not wanted to participate in the swap, so I hope that I can encourage you to step out of your comfort zone and try something new as well. If you would like to participate in a Chic Craftique swap, but are not a member, please feel free to message me on my Renea Harrison Facebook Page , and I will get Julie Monroe to send you an invite!! Hugs ~Renea

Wednesday, January 6, 2016

Blue Fern Frolic Mini Album~

Today, I would love to share my 3rd January Project for Blue Fern Studios! I love creating off the page projects, and one of my FAV things is mini albums. I love creating pages that have little tuck ins for storing memories, and all kinds of unexpected treasures!!


 For this mini album, I used the Blue Fern Frolic Paper Collection,  starting with a layer of Friendship as the base layer and then adding a layer of  Petits Moments


I then added a layer of corrugated board that I added some beads, Imagine Ink Embossing Powder In Cerulean and cheesecloth to grunge it up a bit. I took some pieces of  the Blue Fern Shabby Brick Pieces Chipboard, textured them and added them to my cover design.


Next, I fussy cut out one of the birds from the Friendship Paper and glitter painted him up, then cut out the rest of the bird design and added it to a Blue Fern Majestic Chipboard Frame.


I painted the frame with a coat of gesso and then heat embossed it with the Cerulean Embossing Powder.


Here is a look at all the layering.


Here I created pocket pages with tags using the following Blue Fern Papers:
Frolic Petits Moments
Frolic Veranda


For these pages, I used:
Frolic Friendship and Frolic Petits Moments Papers
there is a pocket that I created using a cut out of the birds design and then created,


a sweet, little sewn booklet from the Calling Cards Paper, 


and a tag that tucks in at the top from the Dans Le Jardin paper.

These pocket pages were created with the Frolic Adorn Paper.


And all the tuck in and tags were created with the Frolic Calling Card Paper.


The last set of pages were created with the Frolic Dans Le Jardin Papers and feature a pocket,


With Frolic Calling Card tags as well as a large tag, tuck in created with Frolic Friendship Paper.


The back side was created using Frolic Friendship Paper.

Blue Fern Studio Supply List:
Paper:

Frolic Friendship
Frolic Calling Cards
Frolic Dans Le Jardin
Frolic Petits Moments

Frolic Veranda
Frolic Adorn

Chipboard:
Majestic Frame
Shabby Brick Pieces

Imagine Ink Embossing Powder:
Cerulean

Items used from the Reneabouquets.com and Reneabouquets Etsy:


Tuesday, January 5, 2016

Getting Winterlicious With The Blue Fern January Sketch~

Each month Blue Fern Studios has a sketch challenge that you can take part in on the Blog. Here is this month's January Sketch:


And here is my Design Team take on the sketch:


I decided to work with some papers from the Blue Fern Deja Vu line to get a Winterlicious, frosty look!! I started with a piece of Lustre Paper and then used another piece of the same paper, this time using the backside. I distressed the edges heavily and did some grunge punching. I used a stencil and texture paste to create the snowflakes on the background paper, and  I then added in 2 more layers of Tresors paper, adding sand paste and Glitter Glass to create a Snowy~frosty look.


Next, I took a Blue Fern Chipboard French Ironwork, painted it with crackle paint and then clear emboss inked randomly and heat embossed using the Imagine Ink Mystic Plum Embossing Powder, and added a crystal for a little bling.


The snowflakes were created by taking Blue Fern Chipboard Winter Flake pieces, painting them with white gesso, and then heat embossing them with Imagine Ink Icicle Embossing Powder.


To add a little more texture and bling, I then added Silver Microbeads to the tips of the flakes and overlaid them with Snowflake Buttons. 


I created a flower layer with a chiffon flower, some various silver and plum flowers and then added in some handcrafted mini texture roses and Silver Leaves.


I also popped on some of my handcrafted Snow White Butterflies for some extra sparkle!!


I love that Blue Fern papers are so high quality and thick that they can handle all of my mediums, textures and layering! Just look at all the dimension that they allow you to achieve.
Here is to coming in out of the cold, warming up by the fireplace and grabbing a comforting cup of hot cocoa or tea. Hope you can join us for the Sketch Challenge and get in on the awesome prize pack.  Hugs ~Renea

Blue Fern Studio Supply List:
Paper:
Deja Vu-Lustre
Deja Vu-Tresors

Chipboard:
French Ironwork
Winter Flakes

Imagine Ink Embossing Powder:
Mystic Plum
Icicle


Monday, January 4, 2016

Boots, Beauty & Blue Fern~

Welcome to to the New Year and welcome to my very first Blue Fern Studios Post!!! I just want to say thank you to everyone who followed my work and encouraged me in 2015! I just love the paper crafting world and all the wonderful people that I have met over the past 4 years. As we head into 2016, one of my greatest hopes is that I can inspire you to create and can teach you something new that you can take and use in your own work, so let's get started!!

I love sliding into a comfortable pair of boots, and for this Design Team layout that I created for Blue Fern Studios, I couldn't help, but get inspired by the Swirly Circle Chipboard Frame to create something rustic meets beautiful!!


I started with a layer of Blue Fern Studios Autumn Anthology-Newsworthy Paper, I then took another piece of the same paper and used the backside, tearing and inking the edges to fit my design. Next, I added a layer of corrugated board that I heavily inked it and added it then popped my photo on top.


I took the Blue Fern Swirly Circle Chipboard Frame, inked it up and then randomly heat embossed it with some Imagine Ink Oatmeal Embossing Powder to get a wonderful, rustic look, and layered it over my photo.


I added some lace to add a feminine touch, and then took some branches with moss, made a little stack and wrapped and tied it with twine and added some mini pine cones. I popped some of my Rose Quartz Butterflies onto the frame for even more dimension.


I added some cheesecloth, a burlap pick , a Large Chiffon Flower and some flowers to round out my feminine meets rustic look. 


I then Distress Crackle Painted some areas around the frame, and inked them, then took a Blue Fern Essential Textures Stamp and did some stamping. Stamping can add a lot of texture and dimension on your layouts and the Essential Textures Stamps are so perfect for adding background noise. 


Here is some more detail of the Yumminess of the stamping. 


In the top corner of my layout, I inked a "Natural Beauty" chipboard piece from the Blue Fern, All Natural Set. I inked in a way that let some of the natural kraft color of the chipboard show through to get a variegated color effect. I then added some more twigs wrapped with twine and pine cones. I took some of the paper pieces left over from the tearing I did and rolled and inked them, then tied more twine around them. I fussy cut out a little bird from the paper and glitter painted him up and then popped him on with foam tape for dimension.


Here you can see all the dimension I created with all the layering and texture work that I did.

Thanks for dropping by!! Now it is time for this gal to grab her boots, pull them up and get back to work!! Have a great week!! Hugs ~Renea

Blue Fern Studio Supply List:
Paper:
Autumn Anthology~Newsworthy
Chipboard:
All Natural Set (Natural Beauty)
Swirly Circle
Stamp:
Essential Textures
Imagine Ink Embossing Powder:
Oatmeal

Items used from Reneabouquets.com & the Reneabouquets Etsy:
Rose Quartz Butterflies
Sweet Daisy Lace


Saturday, January 2, 2016

Blue Fern Studios January Sketch Challenge~


Welcome to 2016!  
Come join us on the Blue Fern Studios Blog for our very first sketch challenge of the new year.  The January sketch has been created by the very talented Michele Singh, who also creates many of the Blue Fern paper collections.  Here is this month's Sketch:


Now hop on over to the Blue Fern Blog and show us how you will use this month's sketch.

One lucky winner, selected by a random draw, will receive a prize package 
of Blue Fern Studios chipboard!

In addition, 3 (or more) layouts will be selected to feature.

There are  just a few simple rules to follow if you would like to participate in the sketch challenge:

1.) Feel free to interpret the sketch as you please by means of taking it as-is or 
flipping/turning/mirroring it to suit your needs, but please make sure your layout resembles the sketch.

2). Please note that you can do whatever type of project you please - a layout, card, 
  canvas, altered item- whatever suits your mood and style! 
We would love to see the different ways our sketch can be used.

3.) You must use at least one piece of Blue Fern Studios chipboard OR use Blue Fern Studios paper on your project. Please note that you do not need to use the pieces featured in the sketch
- use whatever suits your fancy! You can find the store nearest you HERE.
 {Do not use any other brand of chipboard on your project, please!}

4.) Upload your project using the Inlinkz tool to the Blue Fern Challenge Thread by midnight EST on January 31, 2016

I know I am looking forward to seeing how you use the sketch and Blue Fern products! Hugs ~Renea